Collecting every piece of gear takes a little time.
We think it's worth the wait.

Nice choice!
Give us a moment to collect those options for you.

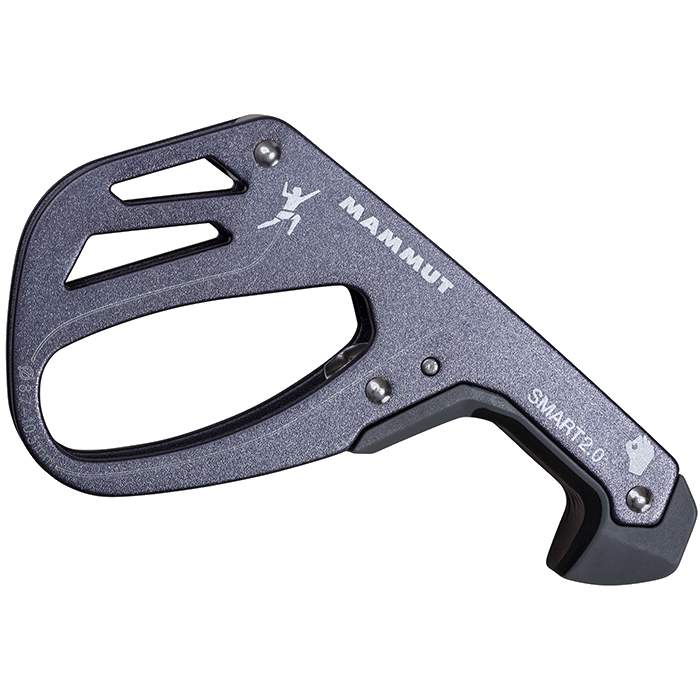
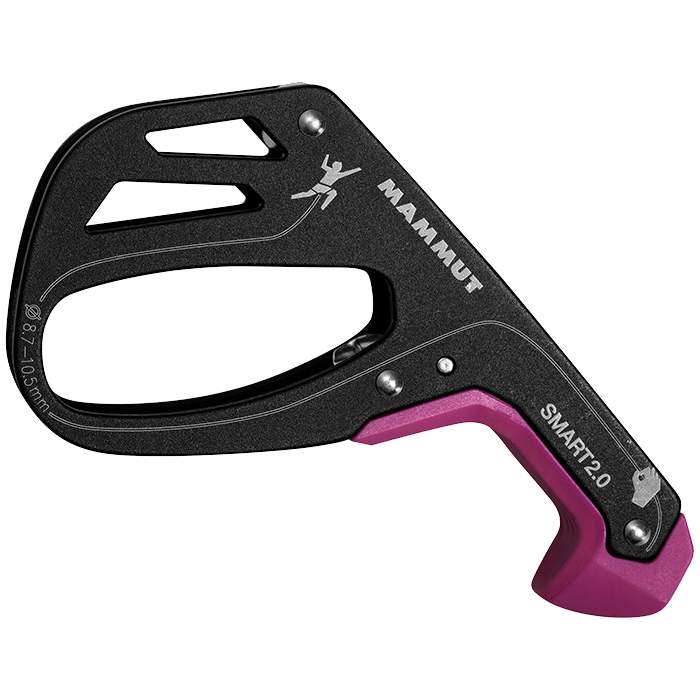
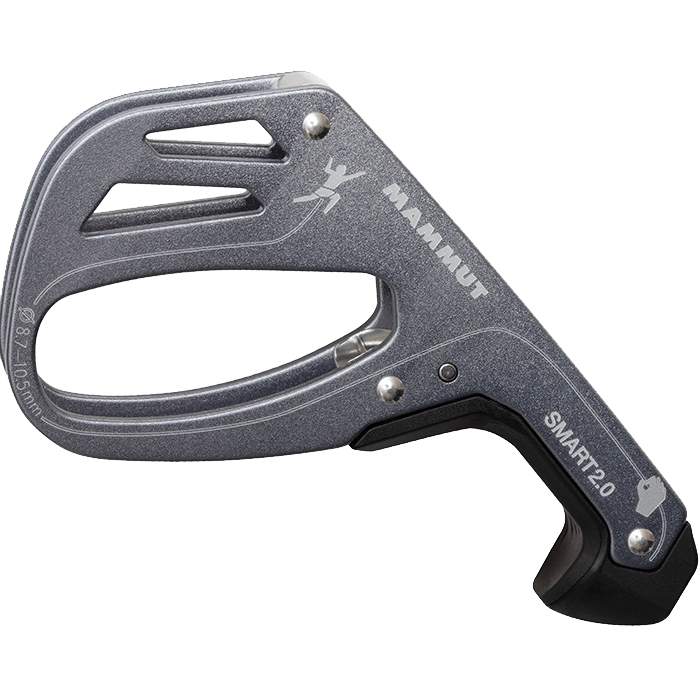
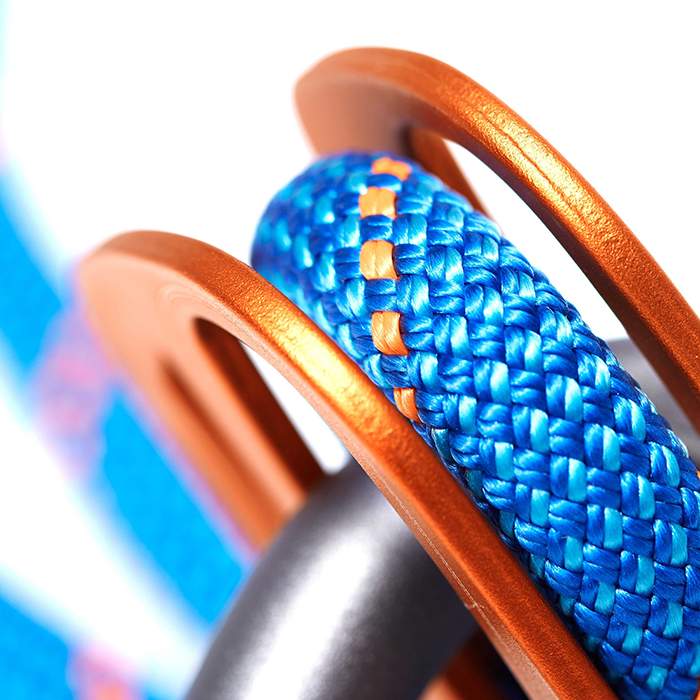
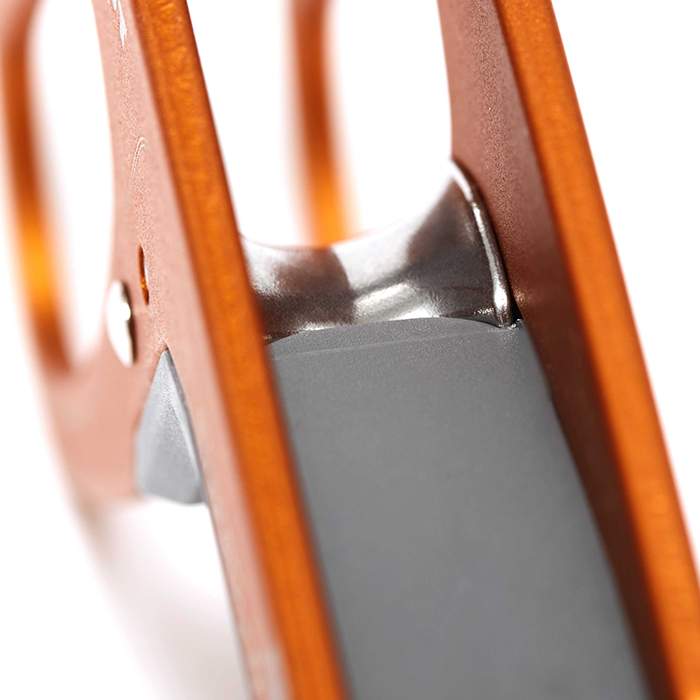
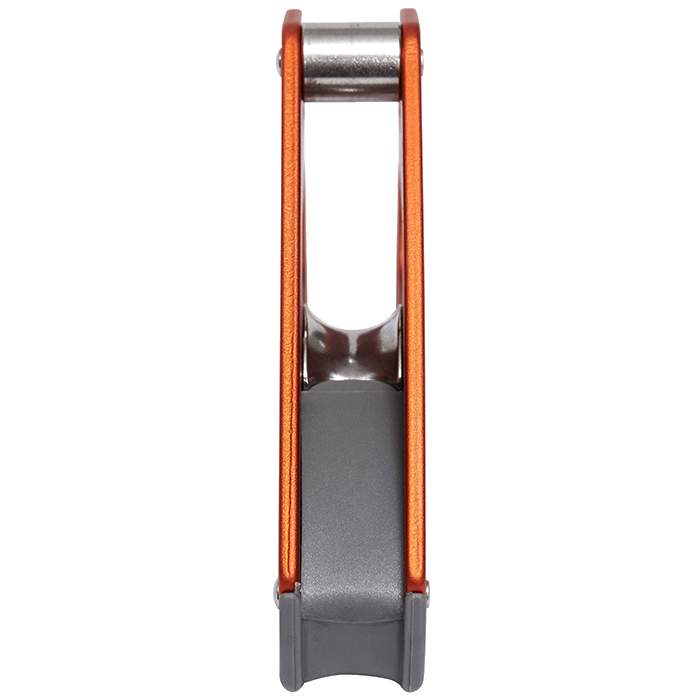
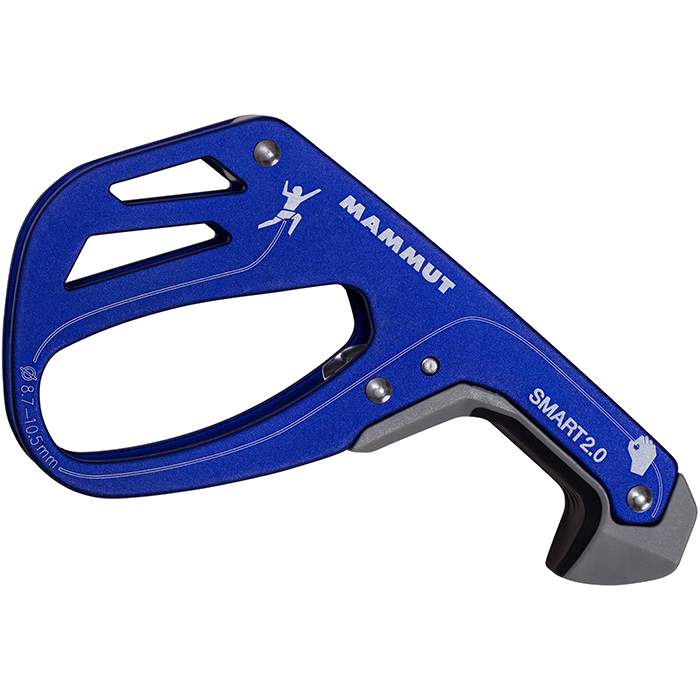
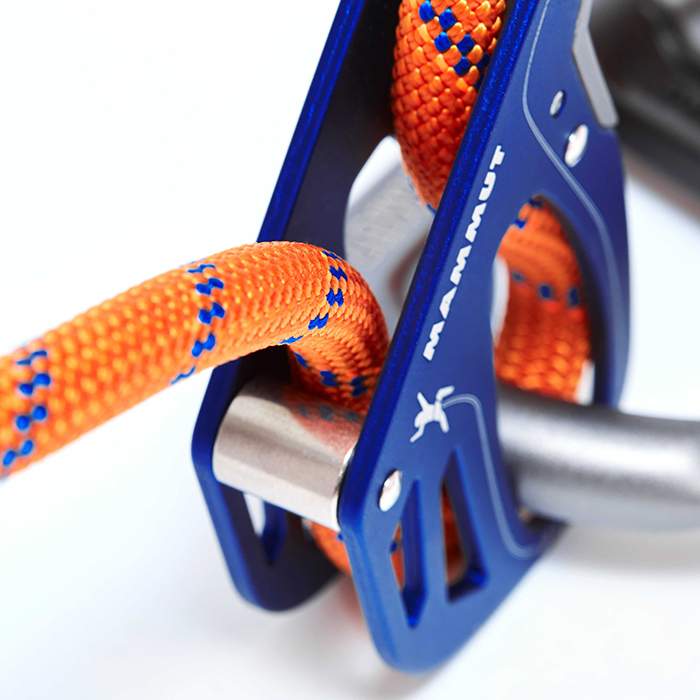
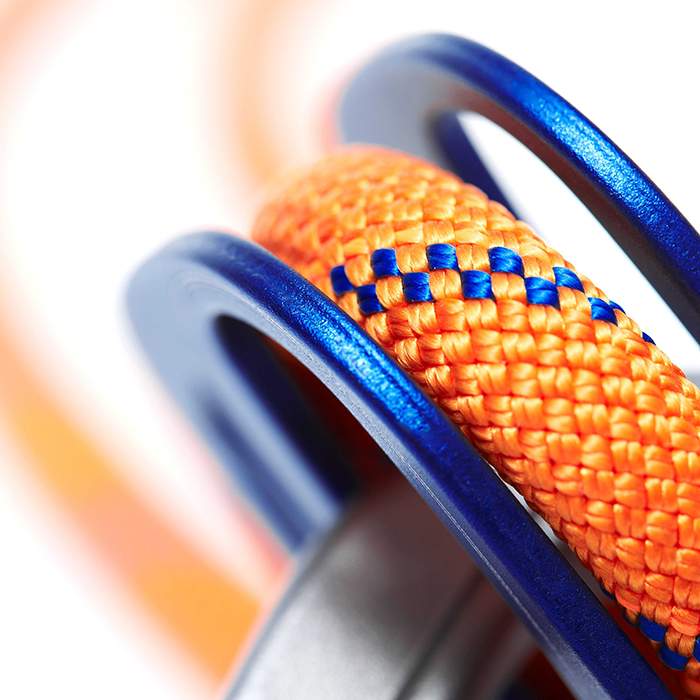
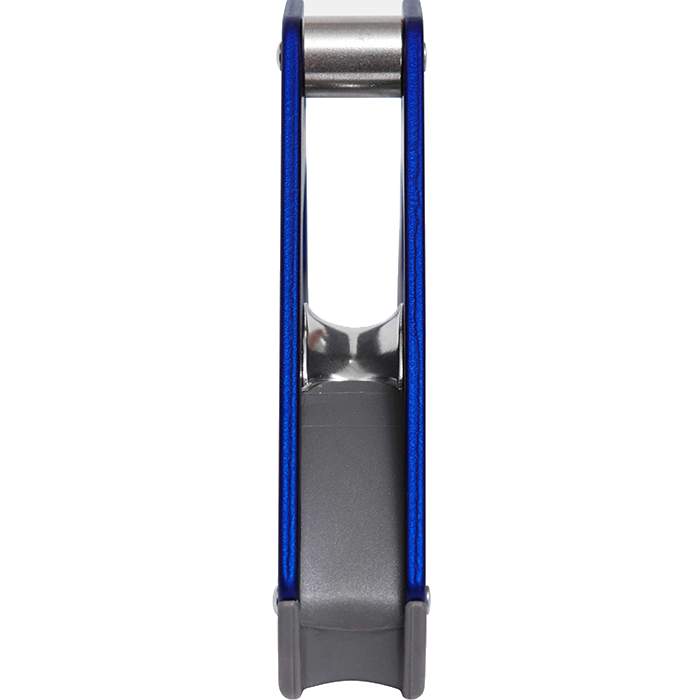
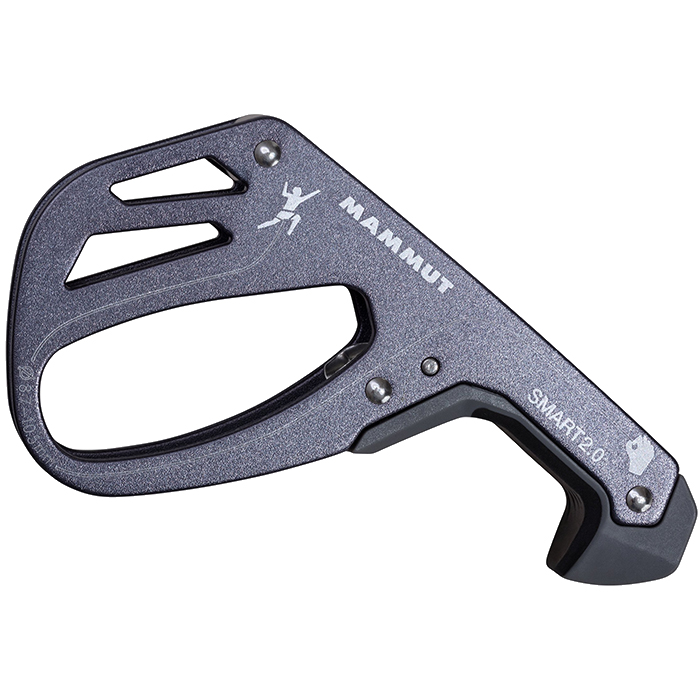
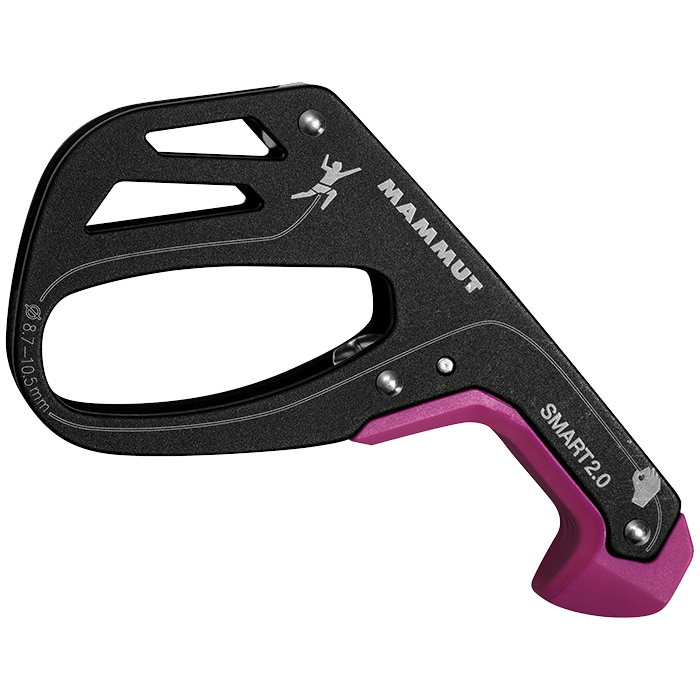
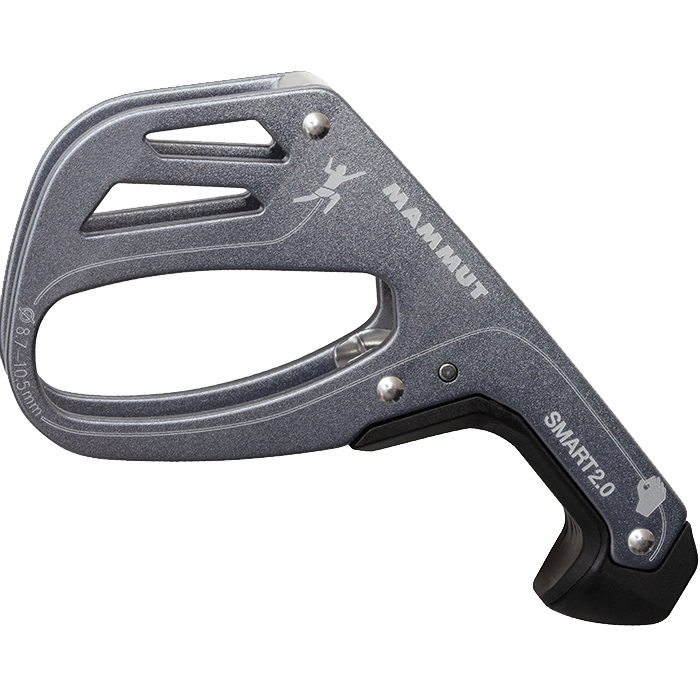
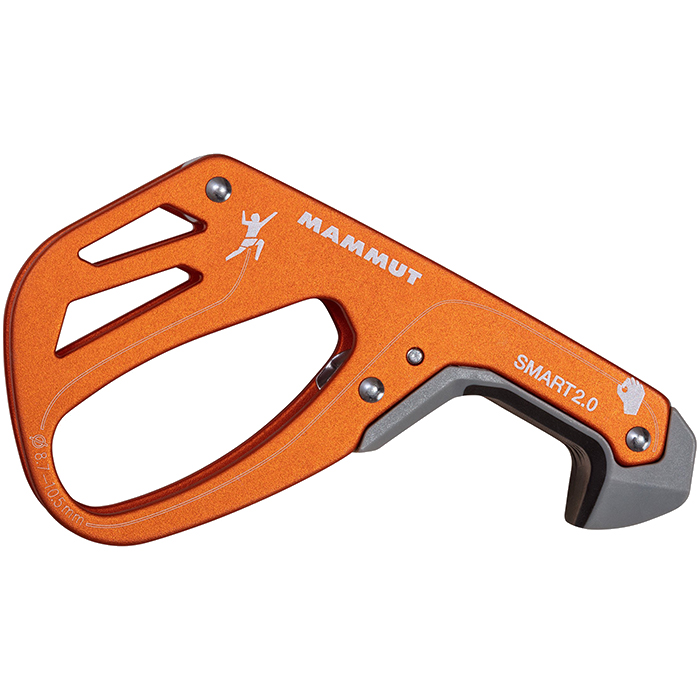
Mammut Smart 2.0 Belay Device
  • Mammut Smart 2.0 Belay Device
  • Mammut Smart 2.0 Belay Device
  • Mammut Smart 2.0 Belay Device
  • Mammut Smart 2.0 Belay Device
  • Mammut Smart 2.0 Belay Device
  • Mammut Smart 2.0 Belay Device
  • Mammut Smart 2.0 Belay Device
  • Mammut Smart 2.0 Belay Device
  • Mammut Smart 2.0 Belay Device
  • Mammut Smart 2.0 Belay Device
  • Mammut Smart 2.0 Belay Device
  • Mammut Smart 2.0 Belay Device
  • Mammut Smart 2.0 Belay Device
  • Mammut Smart 2.0 Belay Device
  • Mammut Smart 2.0 Belay Device
  • Mammut Smart 2.0 Belay Device
  • Mammut Smart 2.0 Belay Device
  • Mammut Smart 2.0 Belay Device
  • Mammut Smart 2.0 Belay Device
  • Mammut Smart 2.0 Belay Device
  • Mammut Smart 2.0 Belay Device

Smart 2.0

Rating

My vote: None ( 4.7 avg )

Description

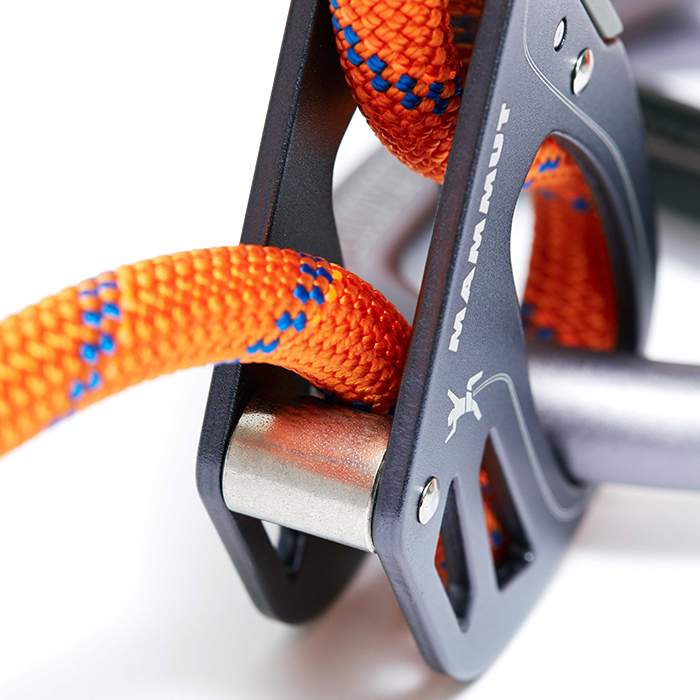
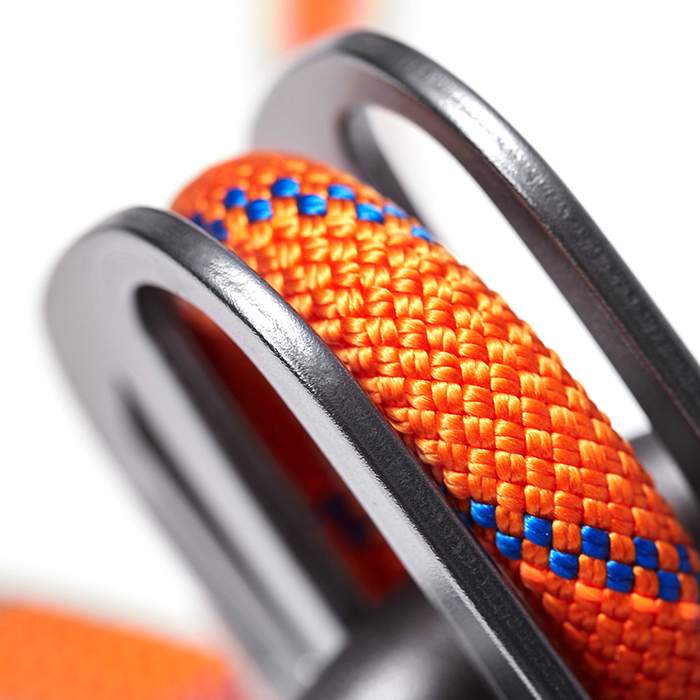
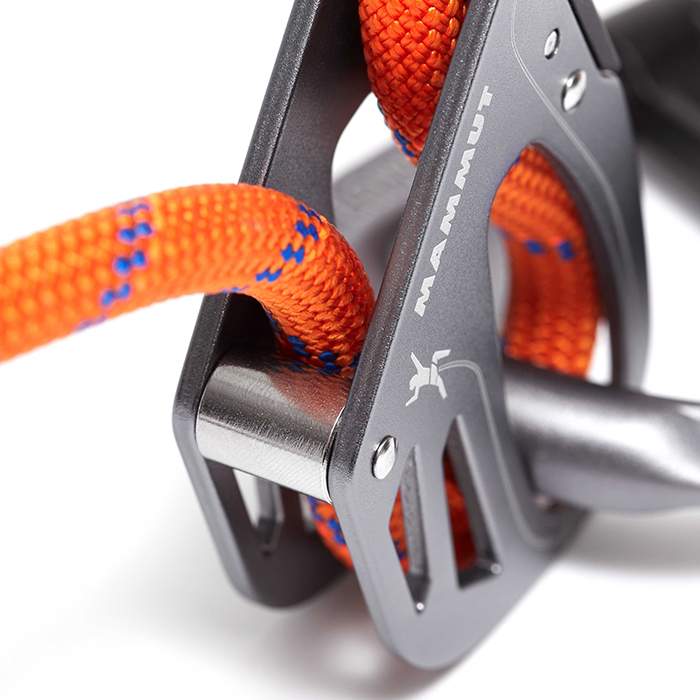
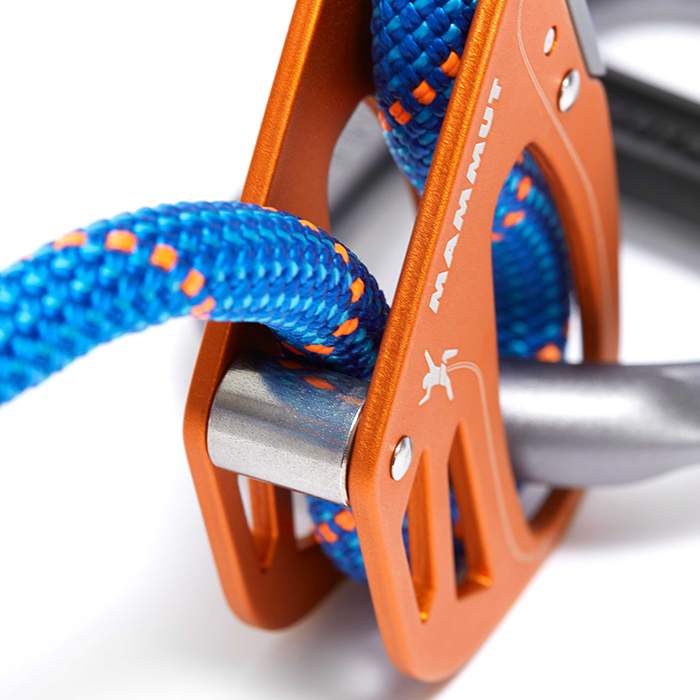
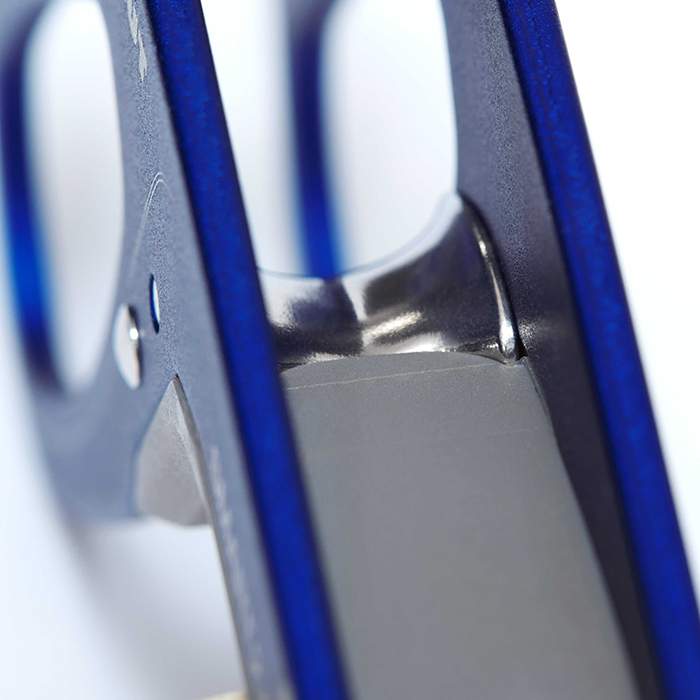
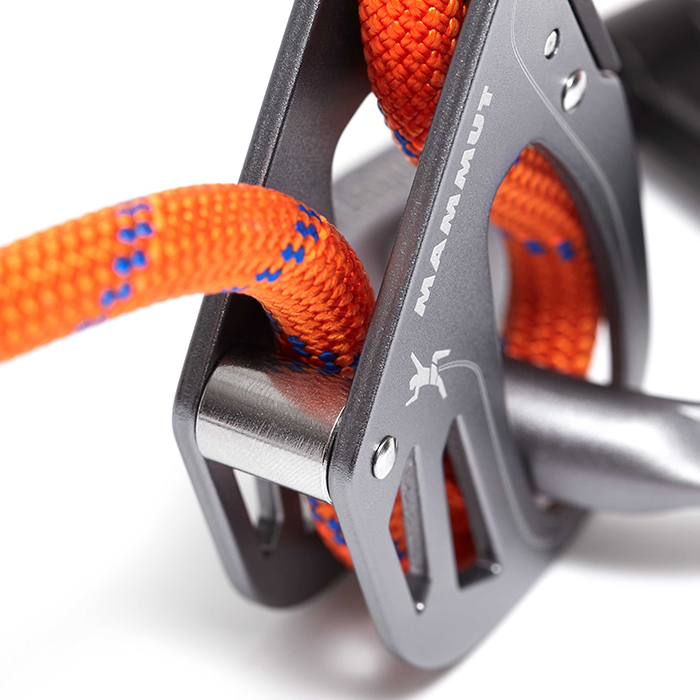
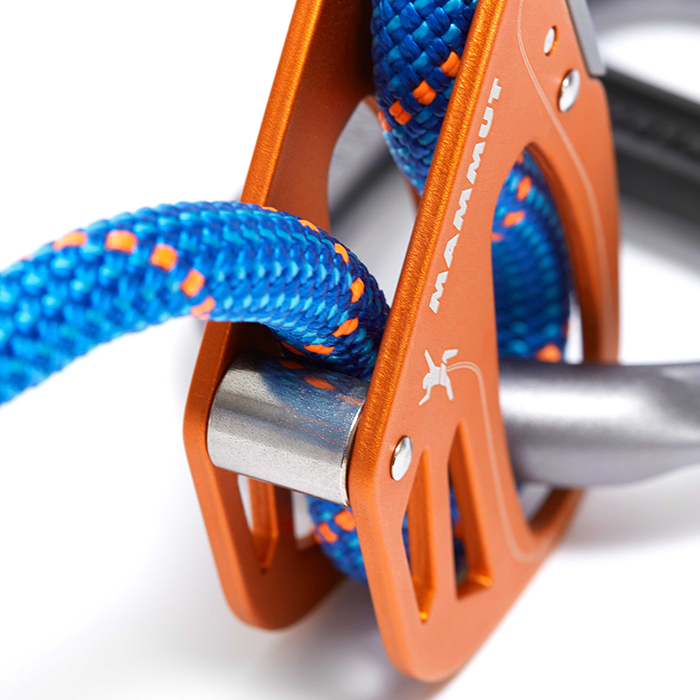
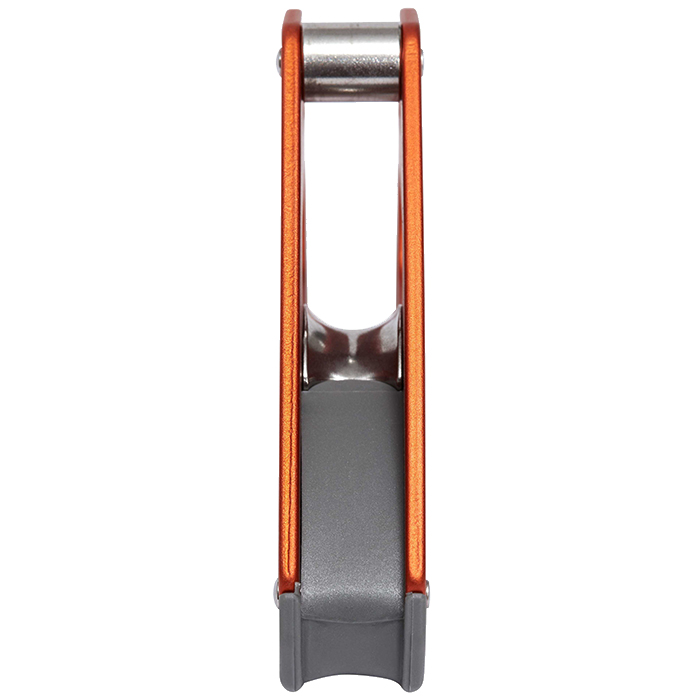
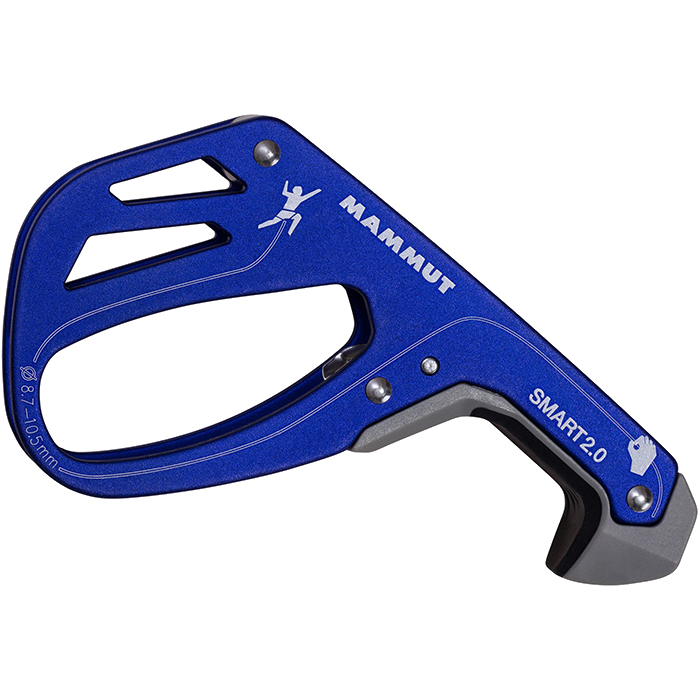
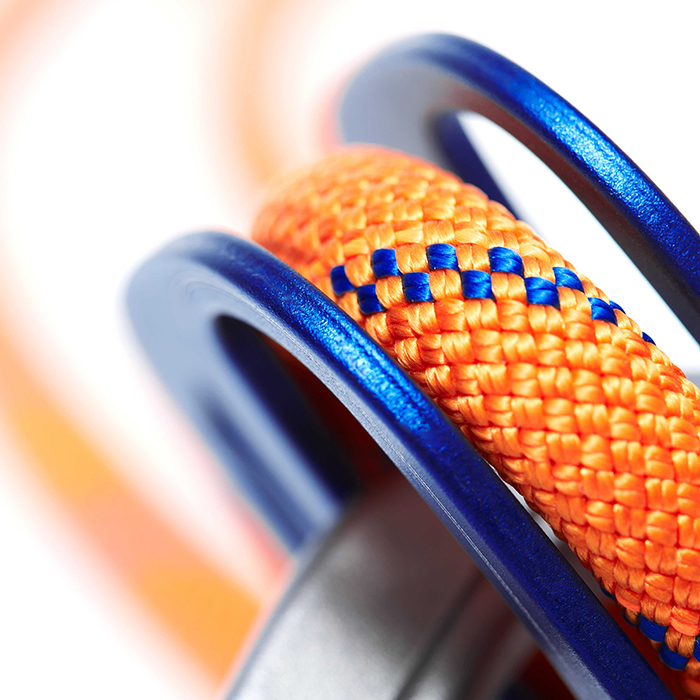
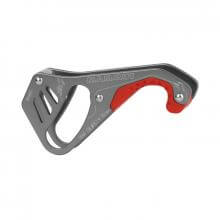
Intuitive belay device with reliable blocking of the climbing rope. The first generation of the Smart belay device was successfully launched in 2009. Built on the experience the new Smart 2.0 offers significantly improved braking effectiveness as well as optimized geometry and intuitive handling. The newly developed brake insert blocks the rope in the event of a fall. The belaying action of the Smart 2.0 is the same as the previous model and is therefore tailored to the belayer's reflex movements.

  • As it operates according to the tube principle, the Smart 2.0 is therefore suitable for both lead climbing and top rope climbing.
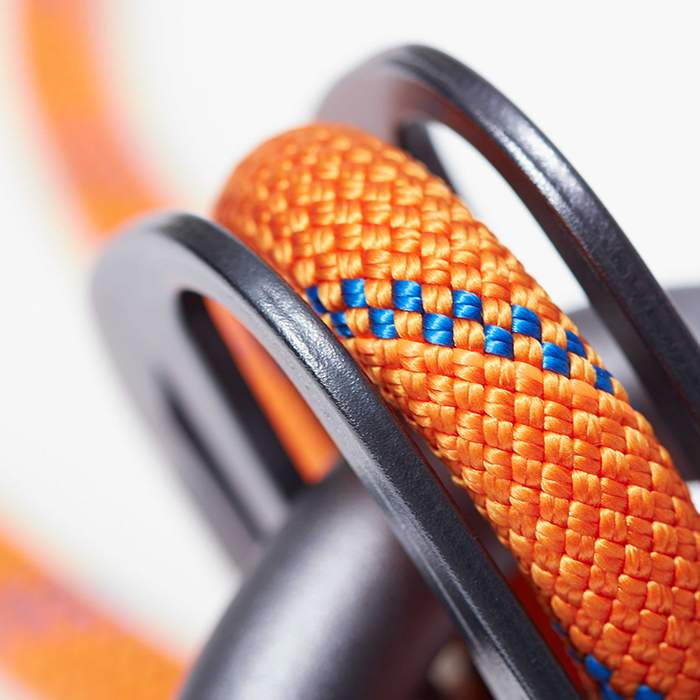
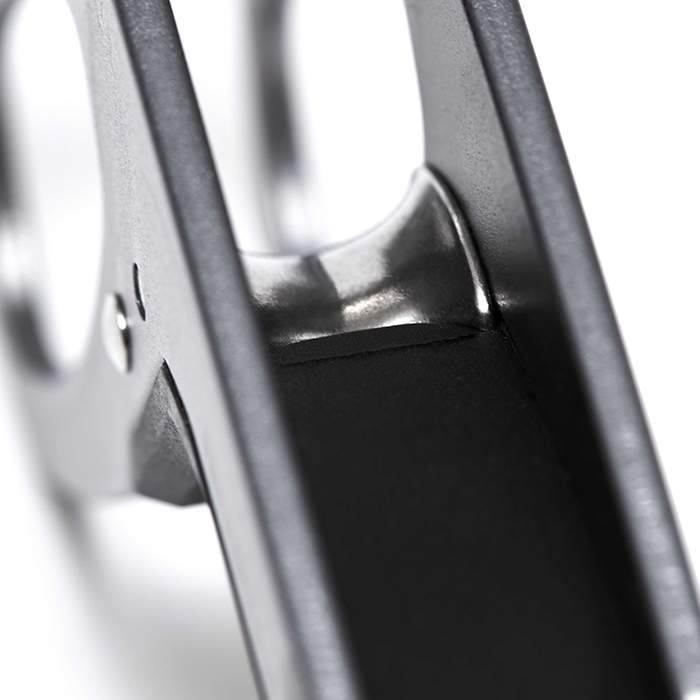
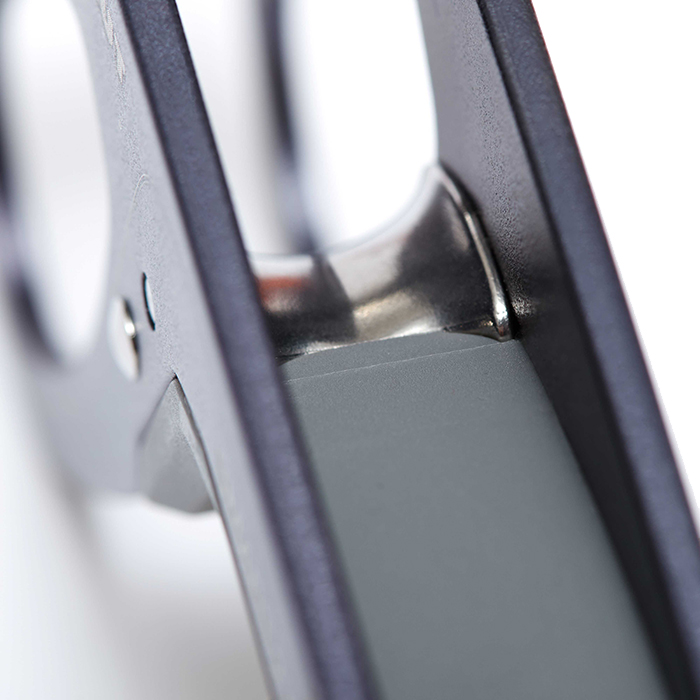
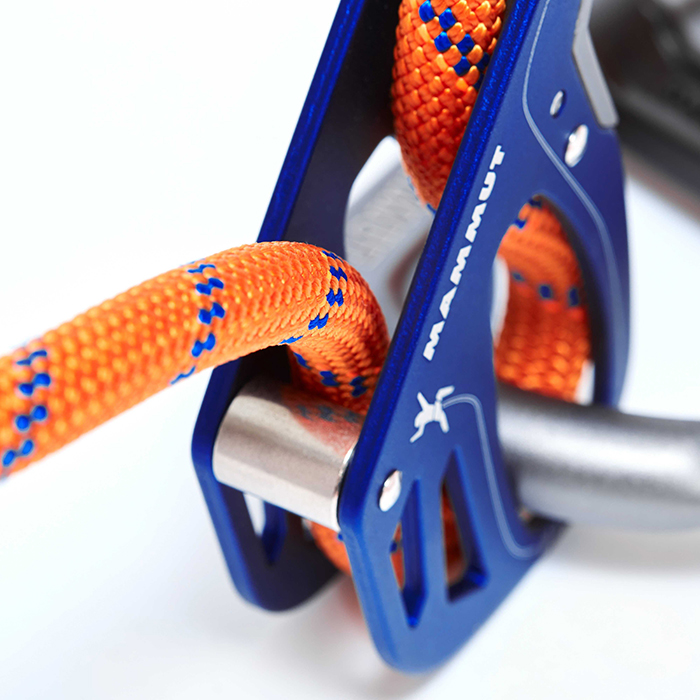
  • In the event of a fall, the Smart 2.0 blocks the climbing rope, with the newly developed high-performance brake insert interacting with the belay carabiner. It therefore offers the belayer optimal support and significantly improved safety.
  • Mammut recommends use of the Smart HMS for the Smart 2.0.

Retail price

US$ 39.95

When you click a link below and then checkout online, no matter what you buy (climbing gear or not), we get a small commission that helps us keep this site up-to-date. Thanks!

Device Type

Device Type

Tube

The most commonly used belay type also called an “ATC” or “tuber.” Other than a distinction between other belay device types, “Tube” is a rarely used term, most climbers just assume you're talking about this style when they refer to your "belay device."

Tube belay device example

Figure 8

Mostly used in rescue, canyoneering, tactical, work safety, or by old school climbers and rappellers. One reason they went out of popularity with recreational climbers is because they tend to create twists in the rope.

Figure 8 belay device example

Brake Assist

These devices assist in stopping the rope when a climber falls or hangs on the rope.

Brake Assist belay device example

Often referred to as “auto-blocking” but that’s not the official terminology because no belay device should be assumed to work automatically by itself, even if it feels like it does (or does most the time).

Plate

When simplicity is a must, or you started climbing before Tubers were the norm. Bonus: They tend to be very light weight.

Plate belay device example

Descender

For rappelling, not for belaying a lead climber or top-roping.

Descender example
Brake Assist - Tube
Weight (g)

Weight (g)

In grams, the weight, as stated by the manufacturer/brand.

80 g
Belay Brake Assist

Belay Brake Assist

This is when the belay device significantly reduces the amount of holding power the belayer must exert to stop a fall and hold a climber.

This is also called "assisted-braking" as the device must hold a significant amount of the climber’s weight; this term does not include friction-adding "teeth" found on some tube style belay devices.

Confusingly referred to as “auto-blocking” or “auto-locking” these terms wrongly imply the device will always, automatically, stop a fall or hold a climber even if the belayer/rappeller is hands-free. These devices are not meant to be used without a hand on the braking side of the rope; the belayers/rapppeller brake hand should always be on the brake rope.

Worth Considering

Most of the mechanical brake assist devices only hold a single strand of rope and are not capable of double-strand rappelling (the most common method of rappel).

Yes
Rope Options 1 rope only
Guide Mode

Guide Mode

This is when you belay directly off the anchor instead of your harness. Guide mode is helpful if you climb outdoors a lot because it reduces the holding power required from the belayer. When your partner falls or rests, the weight of the climber is held mostly by the anchor and the belay device.

Tubers and Plates

When belaying in "guide mode," the tubers and plates turn auto-blocking. During a fall, the climbing rope pinches the slack rope, completely stopping the movement of either rope. A common guide mode setup shown below.

A double rope tubular device guide mode example

Mechanical Brake Assist Devices

There is no difference in the functionality of the device. A brake-hand should always be on the rope to ensure the climber is caught in the case of a fall. A common guide mode setup shown below.

A single rope mechanical brake assist guide mode example

Where guide mode is used

  • multi-pitch sport or trad climbs
  • single-pitch where you need to bring up a follower (say for a walk-off)

Learn More

http://www.climbing.com/skill/essential-skills-auto-blocking-belay-devices/

No guide mode
Teeth

Teeth

Teeth are only seen on tube devices. They add friction that helps grip the rope for more belaying control.

This is helpful for belaying heavier climbers. Teeth are becoming standard on new tube devices.

The belay device teeth are shown in the red circle

Worth Considering

Teeth do wear out. You can limit wear by rappelling on the side without teeth (if you don’t need the extra friction). Once they’re worn, you’ll still have a usable belay device, just less friction.

No
Rope Range (mm)

Rope Range (mm)

The range of rope diameters, in millimeters, that the manufacturer/brand specifies can safely be used.

This is the best case scenario and does not necessarily take into consideration that certified ropes have a tolerance of +/- .3 mm.

Recently, manufacturers have started to add an "optimized" rope range -- this is the range that will result in the nicest handling of the belay device.

8.7 mm  - 10.5 mm ­­­
Certification

Certifications

The main climbing gear certifications are CE and UIAA--and normally the UIAA creates the rules that the CE body also supports. When possible, we try to list all the certifications the product carries.

To sell a climbing product in Europe, the device must be CE certified. There are no official requirements to sell climbing gear in the US. The UIAA certification is a voluntary process.

Learn More

Rock and Ice Certifications Guide
UIAA
AVG RATING
6
( 6 avg )
Rating
6
( 6 avg )

The grigri of the Tubers

Pros
Lightweight
Simple
Really safe slack-giving sequence
Catches 100%
Gives slack nicely even with different diameters and dirty ropes
Cons
Squeaks painfully when not in use
You have to learn a new slack-giving sequence
Catches hard; dynamic catches are really important
Familiarity
I’ve used it a bunch
Disclaimer
Maybe I’m too distracted by noises

I use it always and the only reason I consider buying a grigri is if I someday want to top role solo climb. The device is ideal for both lead and top rope. It feels extremely safe and smooth.

I consider it to be the safest sequence in a belay device, as soon as you give slack, you have to engage the breaking mechanism, so the procedure is safe at all times; even if your climber falls during clipping. However, I tend to keep it in my backpack when not in use, because it squeaks in yopur harness. Also, it wouldn't help at the top of a crag. It doesn't have a rapel function, so don't bring it with you to the top as it is useless there. 

Rating
6
( 6 avg )

Very good as you get used.

Pros
Simple and light
Quite cheap
Safer than ATC
Very good to feed rope
Cons
Makes noise when hanging on the harness
Familiarity
I’ve used it a bunch

I used both Grigri and ATcs. After bought feeding rope was a bit tricky. Now that I got used it's very natural and fast to feed rope, once you learn to avoid rising the lever, but instead pushing it forward. I prefer to Grigri because it's light and simple.

Lowering the climber seems bad as mammut suggests. It works better pushing with the palm from the back and at the same time rising the lever. In comparison to the jul, it's a way smoother to feed rope.

Rating
6
( 6 avg )

Best Assisted Braking Device

Pros
Never slips
Feeds great
Thumb hook is super comfortable
Cons
Metal body gets cold
Familiarity
I’ve used it a ton

This thing is way better than the megajul. It never slips, and feeds perfectly for lead belaying. I’ve caught thousands of falls on this thing and it has never failed me.

The only downside to it is that the metal body can get cold, but the thumb hook has a rubber coating which really helps for long belays. It's my go to device even including a grigri; this thing is never not on my harness.

Outdoor Gear Lab Gear Review rating 3/5

Passive assisted braking devices have elicited a lot of "whys?" from people when they spotted us testing them out at the crag. Think of them as a cross between a GriGri and an ATC. If you're partial to tube-style devices but want some extra holding power and security, then the Smart 2.0 is a great choice. If you've always used a GriGri but are open to trying something lighter and less expensive, the Smart also fills that bill.

Peak Mountaineering Logo no rating given just a review

Well, I have to say that the first time I took the Smart 2.0 to the climbing wall and belayed a lead climber I did find it a little tricky. General paying out of the rope wasn’t a problem, but I found it hard to smoothly feed out rope when they wanted to quickly pull some through to clip protection - initially both my partner and I were getting a bit frustrated because they wanted rope quickly and I struggled to provide it. This isn’t a problem exclusive to the Smart device though and, infact, every assisted-braking device I have used has this tendency because, at the end of the day, they are designed to brake.

Rock and Ice Gear Review no rating given just a review

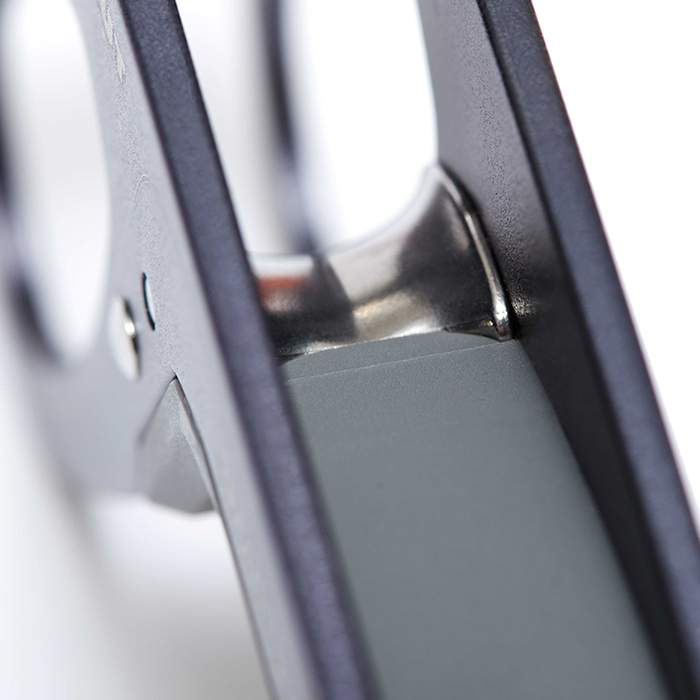
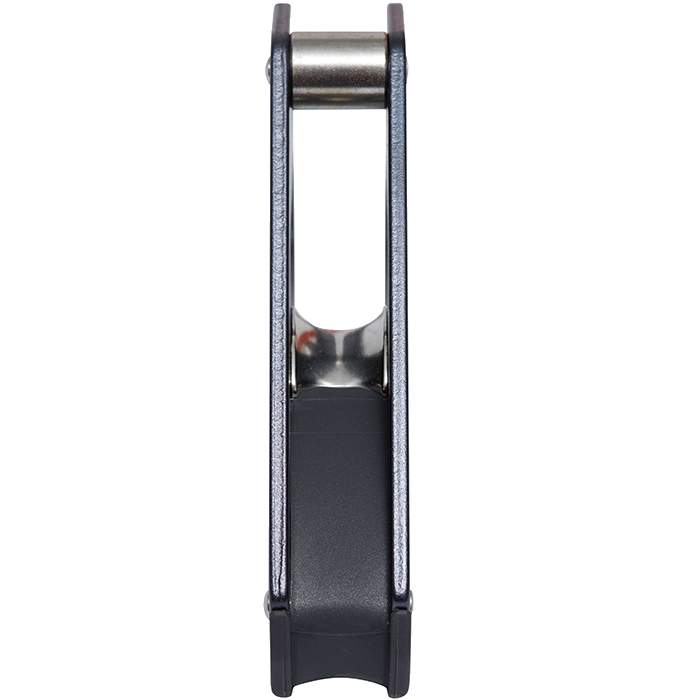
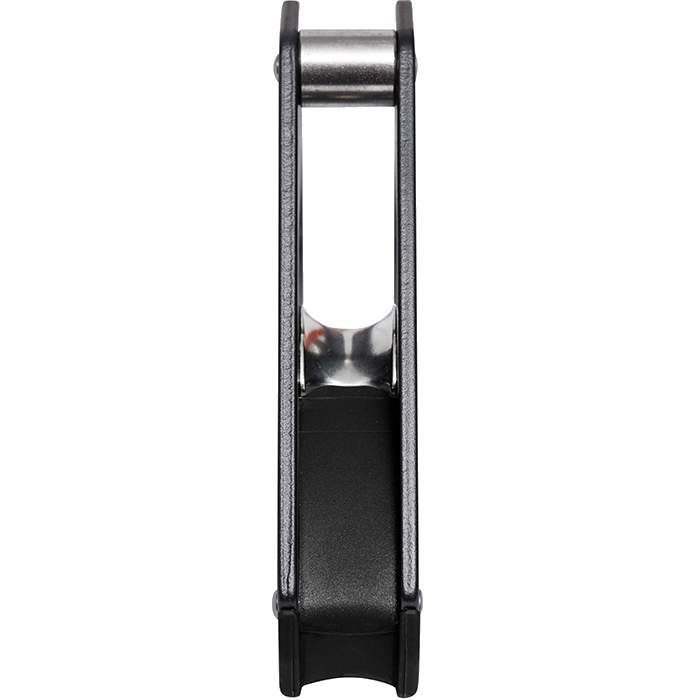
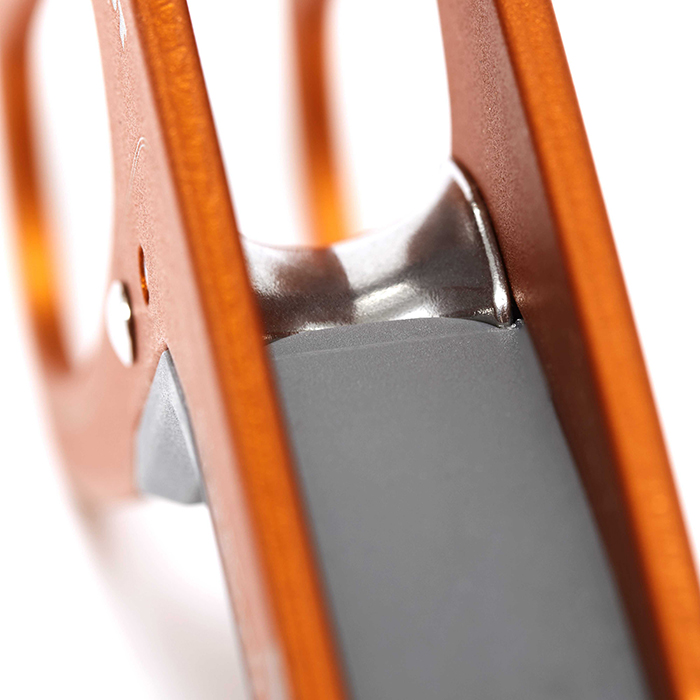
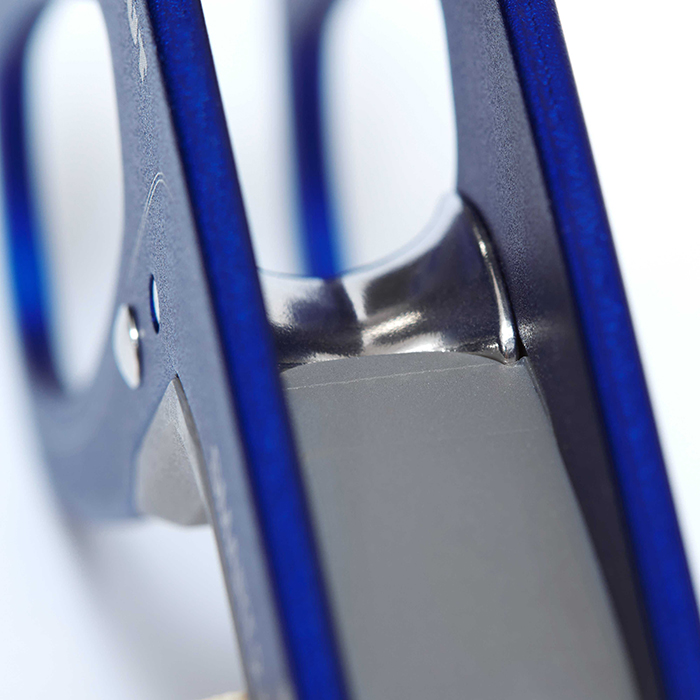
This new iteration of the Smart (the 2.0 hit shelves earlier this year, while the original debuted in 2009) has more ergonomic geometry than its predecessor. The device requires you to tilt the nose up or down with your brake hand depending on whether you’re letting out slack or not. The new shape of the device allows smoother braking and unlocking the device from the brake position is easier. Your brake hand’s thumb rests on the underside of the device, which has a new rubber insert to make it more comfortable. There is also a new steel insert within the device that helps the device brake even better.

Details of Mammut Smart 2.0 Belay Device
Mammut Smart 2.0 Belay Device
Smart 2.0 Belay Device
How to Choose your First Belay Device