Master Pro
Description
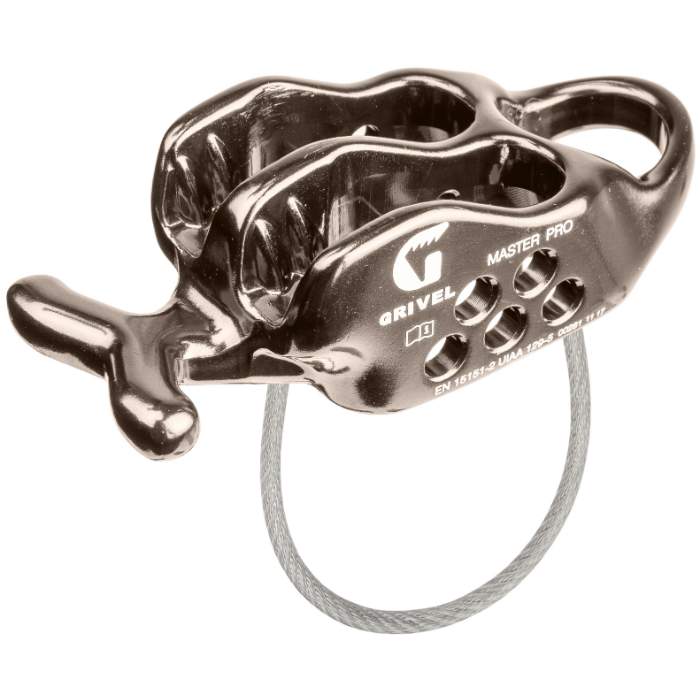
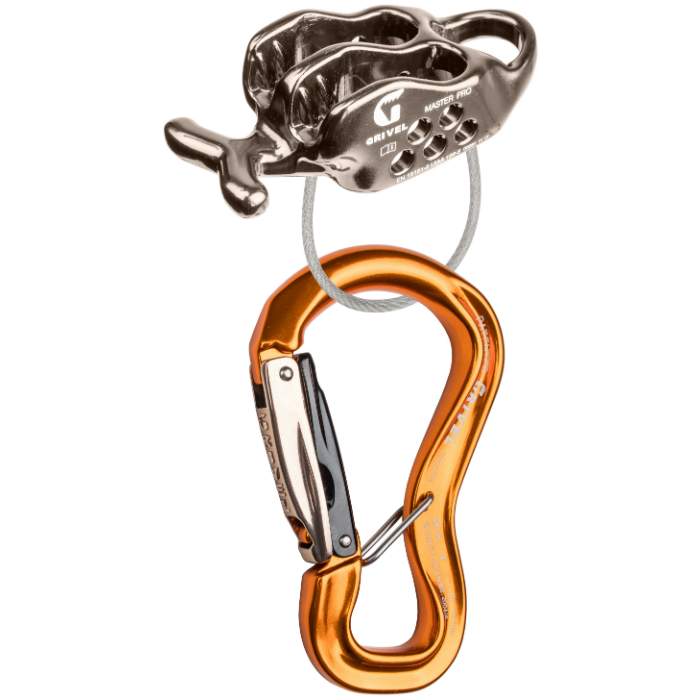
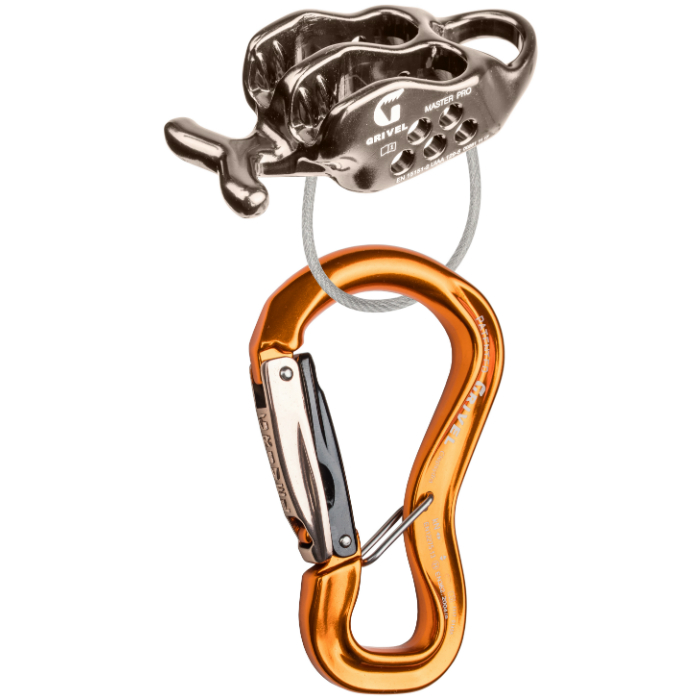
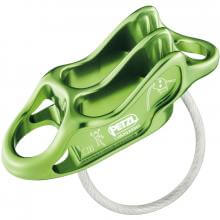
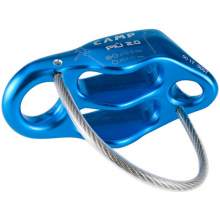
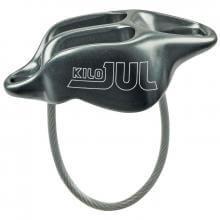
Versatile belay / rappel device, that can also be used in guide mode.
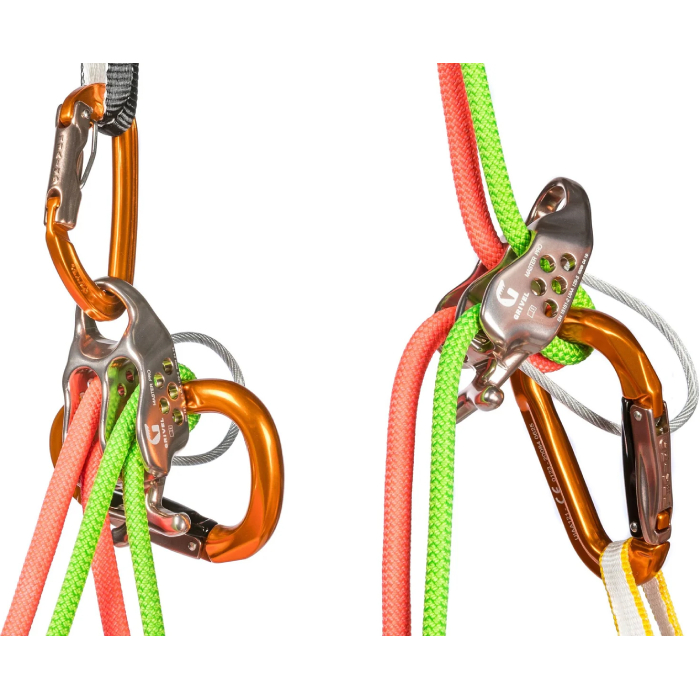
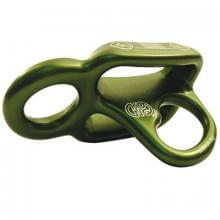
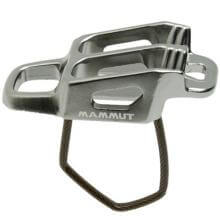
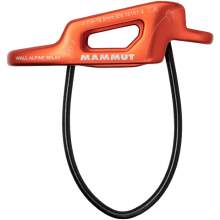
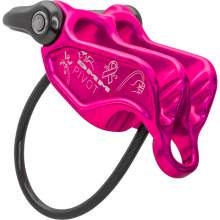
Master Pro was created for belaying and rappelling. It is a versatile, dynamic and reliable tool to minimize the force transmitted to the anchors, the belay and the wear and tear over time of the rope. It can also be used in guide mode as a self-locking plate, to belay a second. The two "horns" that are placed at one of the two ends have two main functions:
- Additional braking with thin ropes by passing them below the horns themselves
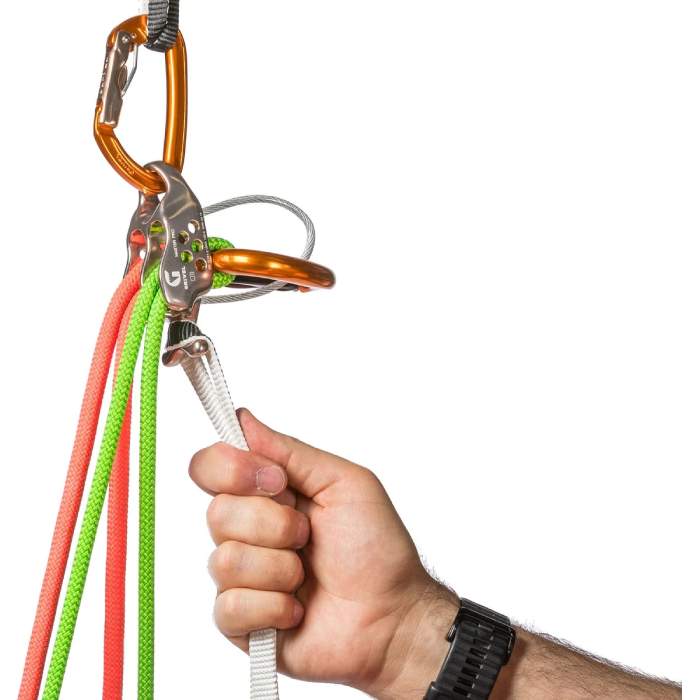
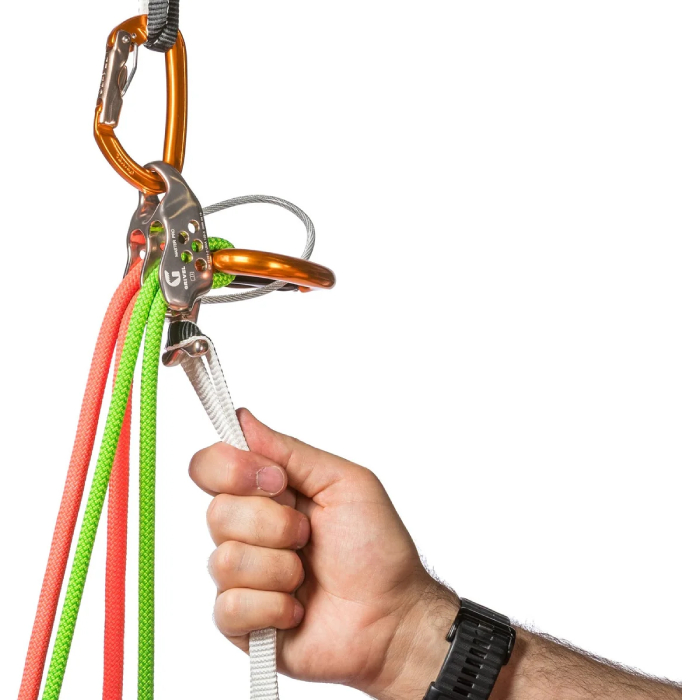
- Possibility of hooking a webbing ring for a release maneuver.
Its body has been designed with a series of holes on the sides to reduce weight, but above all to disperse the heat and consequently not to overheat the rope that passes into it. As with all tubes, the use of gloves is recommended for greater guarantee in braking the ropes, belaying the first climber fromt he harness. It can be used both on single pitch climbs, on a multipitch route, and on a classic wall where you don't want to stress the anchors.
Retail price
This Product is Hard to Find.
We don’t know where you can buy this item online in the US. We’ll continue to check all the major retailers and will update this page as soon as we find one.
If you know where to find this online in the US, let us know, and we’ll add the link.
Device Type  Device TypeTubeThe most commonly used belay type also called an “ATC” or “tuber.” Other than a distinction between other belay device types, “Tube” is a rarely used term, most climbers just assume you're talking about this style when they refer to your "belay device." 
Figure 8Mostly used in rescue, canyoneering, tactical, work safety, or by old school climbers and rappellers. One reason they went out of popularity with recreational climbers is because they tend to create twists in the rope. 
Brake AssistThese devices assist in stopping the rope when a climber falls or hangs on the rope. 
Often referred to as “auto-blocking” but that’s not the official terminology because no belay device should be assumed to work automatically by itself, even if it feels like it does (or does most the time). PlateWhen simplicity is a must, or you started climbing before Tubers were the norm. Bonus: They tend to be very light weight. 
DescenderFor rappelling, not for belaying a lead climber or top-roping. 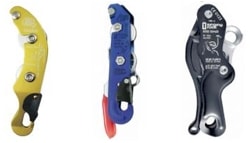 |
Tube |
Weight (g)  Weight (g)In grams, the weight, as stated by the manufacturer/brand. |
88 g |
Belay Brake Assist  Belay Brake AssistThis is when the belay device significantly reduces the amount of holding power the belayer must exert to stop a fall and hold a climber. This is also called "assisted-braking" as the device must hold a significant amount of the climber’s weight; this term does not include friction-adding "teeth" found on some tube style belay devices. Confusingly referred to as “auto-blocking” or “auto-locking” these terms wrongly imply the device will always, automatically, stop a fall or hold a climber even if the belayer/rappeller is hands-free. These devices are not meant to be used without a hand on the braking side of the rope; the belayers/rapppeller brake hand should always be on the brake rope. Worth ConsideringMost of the mechanical brake assist devices only hold a single strand of rope and are not capable of double-strand rappelling (the most common method of rappel). |
No |
| Rope Options | 1 or 2 ropes |
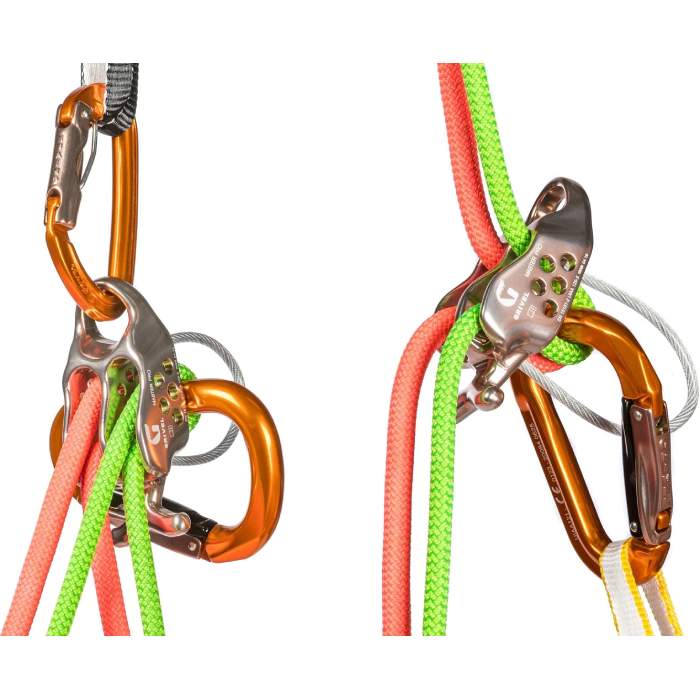
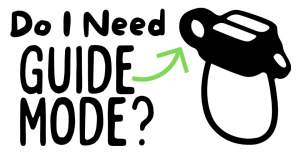
Guide Mode  Guide ModeThis is when you belay directly off the anchor instead of your harness. Guide mode is helpful if you climb outdoors a lot because it reduces the holding power required from the belayer. When your partner falls or rests, the weight of the climber is held mostly by the anchor and the belay device. Tubers and PlatesWhen belaying in "guide mode," the tubers and plates turn auto-blocking. During a fall, the climbing rope pinches the slack rope, completely stopping the movement of either rope. A common guide mode setup shown below. 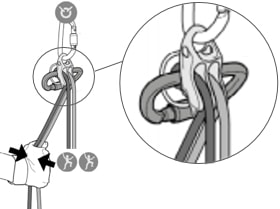
Mechanical Brake Assist DevicesThere is no difference in the functionality of the device. A brake-hand should always be on the rope to ensure the climber is caught in the case of a fall. A common guide mode setup shown below. 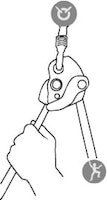
Where guide mode is used
Learn Morehttp://www.climbing.com/skill/essential-skills-auto-blocking-belay-devices/ |
Up to 2 followers |
Teeth  TeethTeeth are only seen on tube devices. They add friction that helps grip the rope for more belaying control. This is helpful for belaying heavier climbers. Teeth are becoming standard on new tube devices. 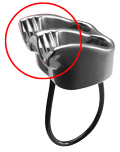
Worth ConsideringTeeth do wear out. You can limit wear by rappelling on the side without teeth (if you don’t need the extra friction). Once they’re worn, you’ll still have a usable belay device, just less friction. |
Yes |
Rope Range (mm)  Rope Range (mm)The range of rope diameters, in millimeters, that the manufacturer/brand specifies can safely be used. This is the best case scenario and does not necessarily take into consideration that certified ropes have a tolerance of +/- .3 mm. Recently, manufacturers have started to add an "optimized" rope range -- this is the range that will result in the nicest handling of the belay device. | 7.3 mm - 11.0 mm |
Certification  CertificationsThe main climbing gear certifications are CE and UIAA--and normally the UIAA creates the rules that the CE body also supports. When possible, we try to list all the certifications the product carries. To sell a climbing product in Europe, the device must be CE certified. There are no official requirements to sell climbing gear in the US. The UIAA certification is a voluntary process. Learn MoreRock and Ice Certifications Guide |
EN, UIAA |
No voice but the video shows all the features of Master Pro Belay Device, it's well worth watching.
General information, use and warning with instructional pictures.

